
Two factor authentication is a fantastic way to secure your client area as it makes you login using your traditional password (something you know) and a token generated from a device such as your smart phone (something you have). This means that even if someone knows your password, your account is still secured as he would need to generate a token from your smartphone.
Find below the steps to activate two-factor authentication on your client area.
- Download for free the Authy Authenticator or Google Authenticator Or LastPass Authenticator , If you use any other platform like iOS, you may search within your app store for an Authenticator on your smartphone.
- Log in to the HostMight Client Area
- Click on My Profile on the right side of the menu.
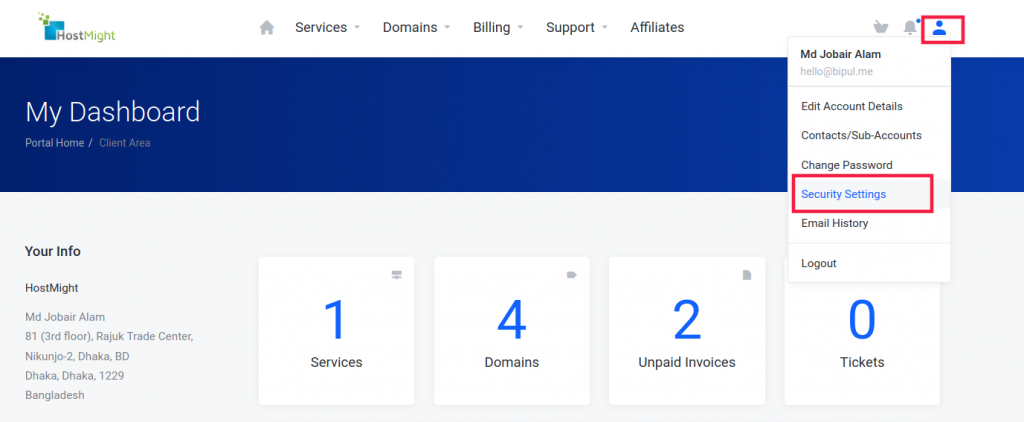
- Click Security Settings
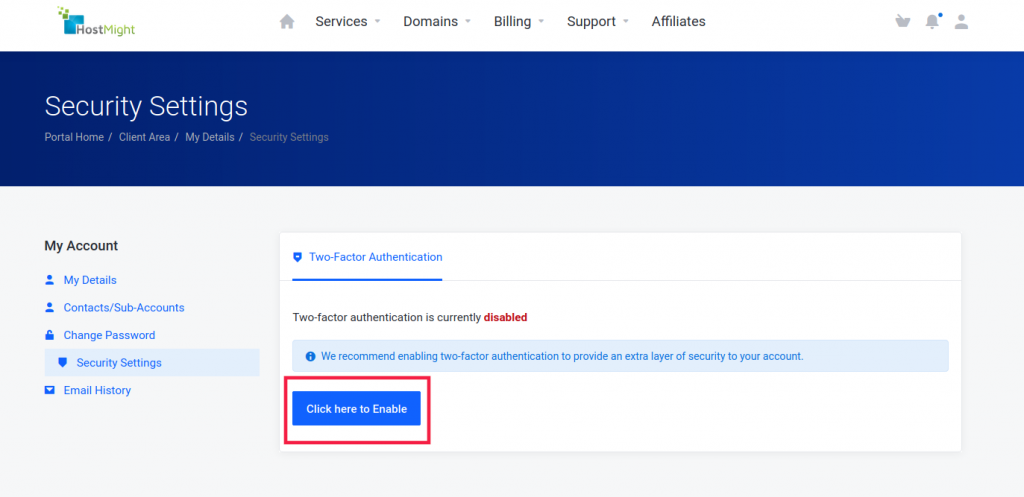
- Under Two-Factor Authentication, click click here to enable
- Click Get Started
- Open Authenticator (or your preferred 2FA App) and click + to add a new login
- Scan the QR code shown in your Client Area
- Enter your code from Authenticator into the box on the Two-Factor Authentication page and click Verify Code
- A backup code will be displayed on your screen. This code can be used to log in your account if, for whatever reason, you are unable to log in using 2FA. We recommend saving this backup code in a password manager.
Congratulations! You have now enabled two 2FA and have further secured your HostMight account. You will be prompted to provide your 2FA code every time you log in. If you lose the device or accidentally uninstall the Authenticator app and do not have your backup code, you’ll be unable to log in to your account. You’ll need to Contact our support team so that we can verify your identify and disable 2-factor authentication for you.
If you wish to disable 2FA, you can return to the 2FA screen and choose to disable 2FA. Your 2FA setup will not apply to any sub-accounts you have created in your Client Area.